LEMP or a.k.a LNMP stands for Linux, Nginx, MySQL and PHP. I posted various tutorial on how to get it installed on your VPS but this article is a CentOS 7 version of how to setup a full and working Nginx server to host websites or blogs on your VPS.
Just like my Apache-version of this tutorial I’ll use MariaDB to act as mysql server instead of the original one which is now owned by Oracle. For your information, MariaDB is an enhanced, drop-in replacement for MySQL made by its original developers. For all practical purposes, MariaDB is a binary drop in replacement of the same MySQL version (for example MySQL 5.1 -> MariaDB 5.1, MariaDB 5.2 & MariaDB 5.3 are compatible. Shortly, if your apps / scripts can run on MySQL, then it will also run flawlessly on MariaDB.
L for Linux
CentOS 7 is one of available most recent Linux distro. It has great enhancements over its predecessor. Well, there are few changes but to note the most important one, it is now using systemd, the replacement for legacy System V (SysV) startup scripts and runlevels. With systemd there are fewer files to edit, and all the services are compartmentalized and stand separate from each other. Shortly saying, instead of using /etc/init.d/httpd restart or service httpd restart, you should now make yourself be familiar with systemctl restart httpd.service command.
E for Engine X or N for Nginx
You must already knew it, Nginx is most popular web server with Apache’s twice performance. It is an open source reverse proxy server for HTTP, HTTPS protocols, as well as a load balancer, HTTP cache, and a web server (origin server). Itaccelerates content and application delivery, improves security, facilitates availability and scalability for the busiest web sites on the Internet. Installing Nginx is easy but building a website with high traffic capable to crash Nginx is the hardest part.
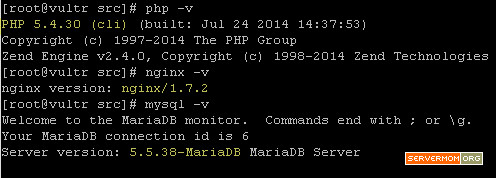
M for MySQL
MySQL is a database server but in this tutorial we’ll use MariaDB.
P for PHP
Hypertext Preprocessor or PHP is a widely-used open source general-purpose scripting language. On websites, it is useful to serve dynamic content.
Prerequisite
- A server (VPS / Dedi) running CentOS 7. I recommend you to use CentOS 7 x86_64 minimal if available. As usual, I’m using a Playground Server from DigitalOcean.
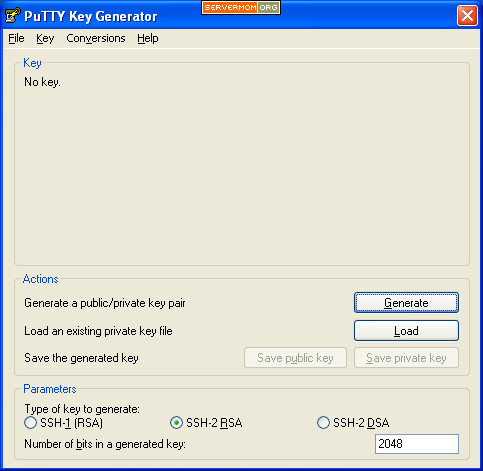
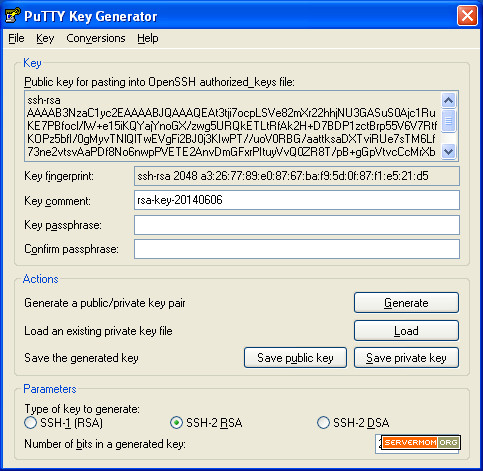
- A knowledge on how to use Putty or Terminal to access a server via SSH.
- I believe you knew -at least part of- most common Unix commands used to manage an unmanaged server.
- A spare time of your life and a cup of coffee.
Install Nginx
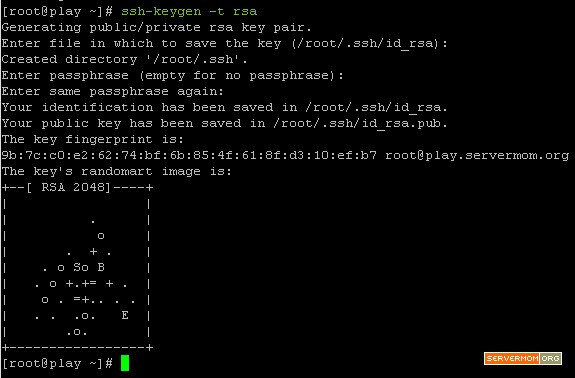
Before you proceed to the next steps, it is better to explain that all commands in this tutorial are written without the “sudo” prefix. In this tutorial I use root but you may also login as separate user with root privilege. However if you disabled root login and you logged in using another username with root privilege, you can add the “sudo” prefix all by your self. Alternatively you can simply type su, hit Enter and type in your password twice to switch as root.
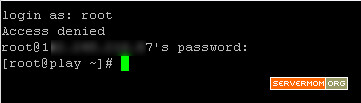
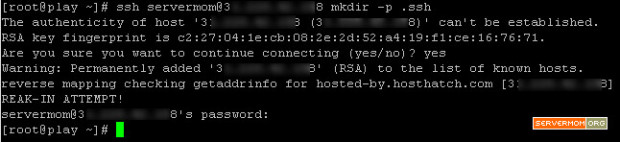
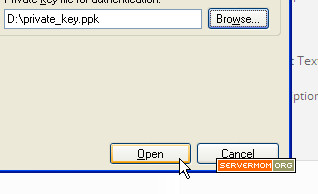
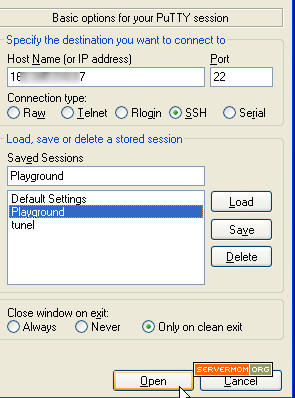
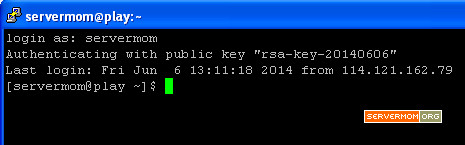
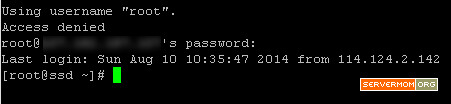
Step 1 – Login to your server via Putty or Terminal.
![]()
Step 2 – Since Nginx package is not included in CentOS 7 by default, so we have to add / install Nginx yum repository by issuing command below:
rpm -Uvh http://nginx.org/packages/centos/7/noarch/RPMS/nginx-release-centos-7-0.el7.ngx.noarch.rpm
it will look like this
![nginx-1-rpm]()
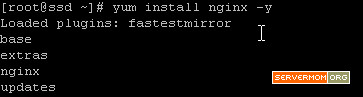
Step 3 – Next, simply use this simple command to install Nginx on CentOS 7:
yum install nginx -y
![install-nginx-centos-7-yum]()
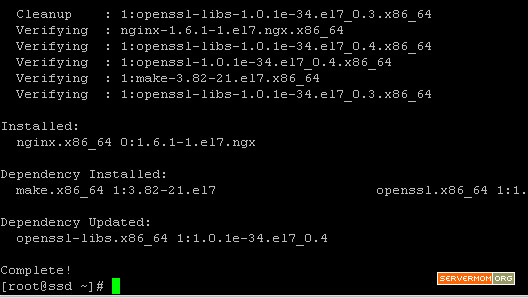
and once done, it should look similar to this:
![install-nginx-centos-7-installed]()
As simple as that! Now your Nginx web server is running.
Step 4 – You can test Nginx to run for the very first time using this command:
systemctl start nginx.service
and enable it to automatically run each time your server is booting:
systemctl enable nginx.service
![install-nginx-centos-7-start]()
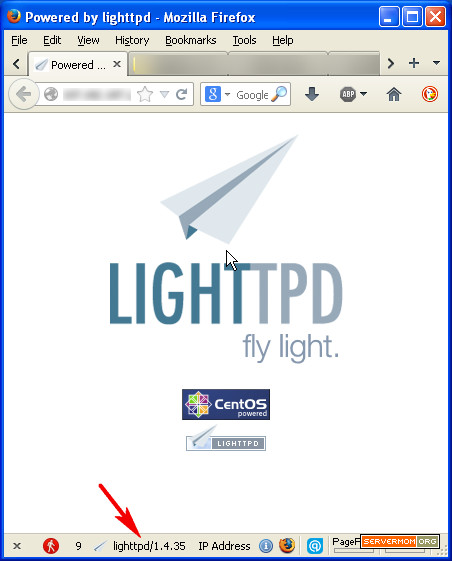
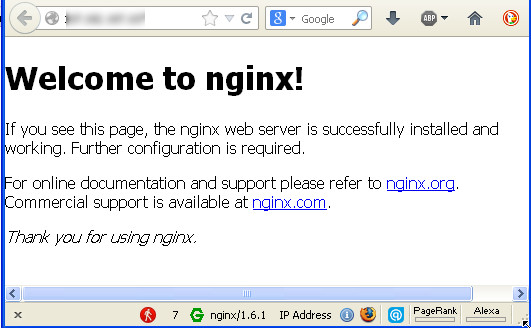
Now open up your favorite web browser and use your server’s IP to access it. Nginx default welcome page should be seen there:
![nginx-welcome-centos-7]()
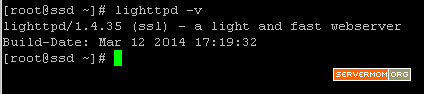
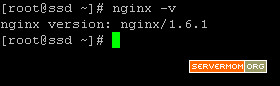
You can use nginx -v command to find out what version of Nginx is installed:
![nginx-version-centos7]()
Install PHP5-fpm
Step 5 – PHP can be easily installed via yum:
yum install php php-mysql php-fpm
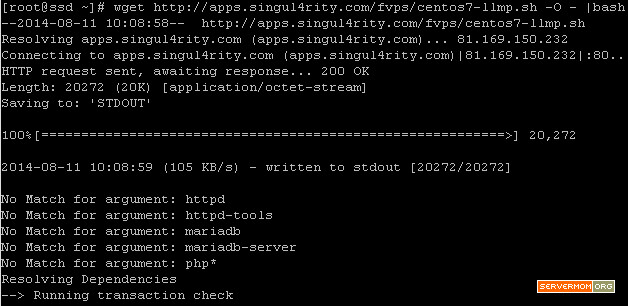
That’s a very basic command to install PHP 5 plus its modules: php-mysql and php-fpm. However, in many cases your apps or scripts (like WordPress and its many plugins) require other PHP modules. You can list all available module using yum search php- (read here). I’ve collected all most common modules you may need so you can simply use this one:
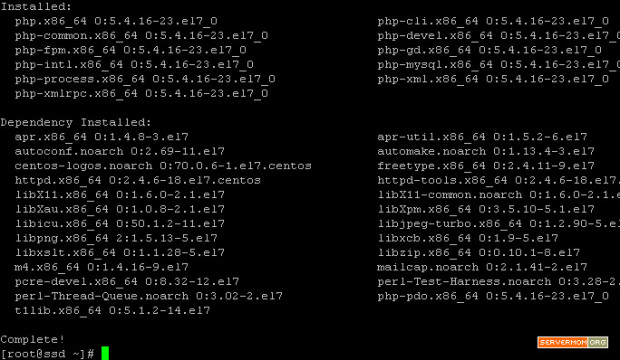
yum install php php-fpm php-common php-cli php-devel php-gd php-imap php-intl php-mysql php-process php-xml php-xmlrpc php-zts -y
once done, you’ll see something like this:
![install-nginx-centos-7-php]()
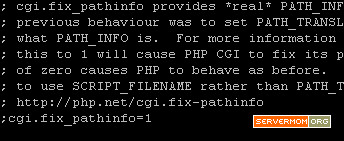
Step 6 – As we’ll use php-fpm module, so there are few configuration you have to adjust. First, let’s edit php.ini file using your favorite text editor like Nano:
nano /etc/php.ini
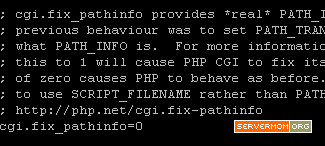
then look for the line to with cgi.fix_pathinfo. In Nano you can make use of search function (Control+W). Remove the ; and set this value to 0.
Before:
![install-nginx-centos-7-php-cgi-path-before]()
After:
![install-nginx-centos-7-php-cgi-path-after]()
Once done, save and exit the editor (Control+O then Control+X)
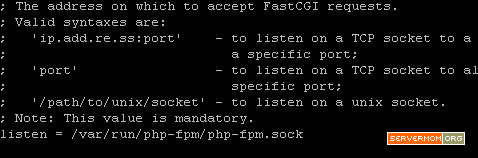
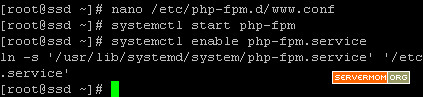
Step 7 – Next, edit php-fpm configuration file:
nano /etc/php-fpm.d/www.conf
and edit the line Listen = 127.0.0.1:9000 replace whit this:
listen = /var/run/php-fpm/php-fpm.sock
![install-nginx-centos-7-php-config-socket]()
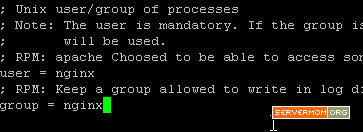
Step 8 – Also find the section called “Unix user/group of processes” then change Apache to Nginx:
![install-nginx-centos-7-php-config]()
Done editing? Now save and exit.
Step 9 – Now start php-fpm using systemctl command:
systemctl start php-fpm
and enable it to automatically start on system boot:
systemctl enable php-fpm.service
![install-nginx-centos-7-php-fpm-start]()
Setup Nginx (Configuration)
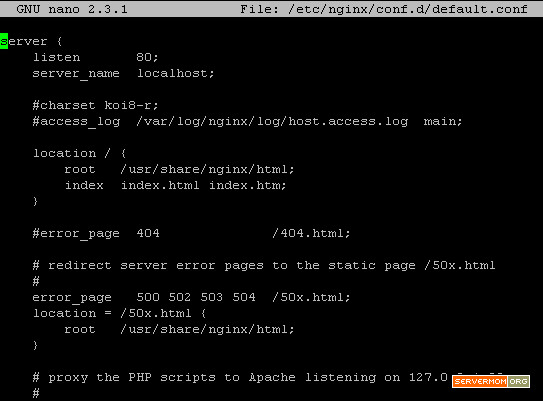
Step 10 – Open and edit the default Nginx server block (virtual hosts file) configuration file using your favorite editor:
nano /etc/nginx/conf.d/default.conf
It should look like this by default:
![install-nginx-centos-7-conf]()
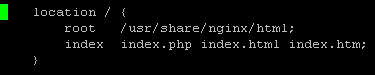
Step 11 – Now add an index.php option as the first value of index directive to allow PHP index files to be served when a directory is requested:
![install-nginx-centos-7-conf-index-php]()
Also change the structure from this :
![install-nginx-centos-7-conf-before]()
to this:
![install-nginx-centos-7-conf-after]()
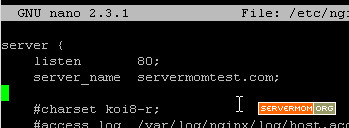
Step 12 – Also change the server_name directive to point to your server’s domain name or public IP address:
![install-nginx-centos-7-conf-name]()
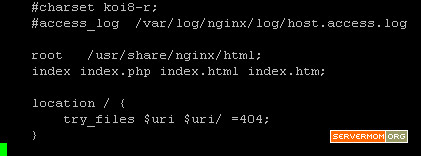
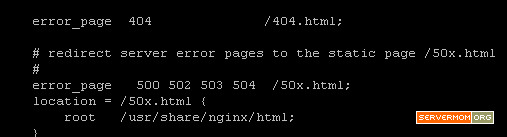
Step 13 – Optional but necessary, uncomment some lines that define error processing routines especially error 404:
![install-nginx-centos-7-conf-error]()
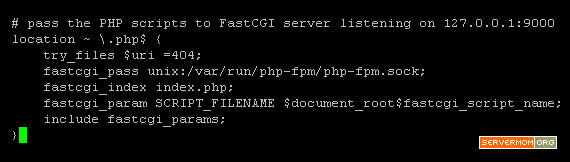
Step 14 – Then scroll down a bit and find a section that says “pass the PHP scripts to FastCGI server listening on 127.0.0.1:9000” uncomment the lines and make changes as following:
location ~ \.php$ {
try_files $uri =404;
fastcgi_pass unix:/var/run/php-fpm/php-fpm.sock;
fastcgi_index index.php;
fastcgi_param SCRIPT_FILENAME $document_root$fastcgi_script_name;
include fastcgi_params;
}
![install-nginx-centos-7-conf-fastcgi]()
Done? You can now save and exit.
Step 15 – Do not forget to restart Nginx so the changes can be applied:
systemctl restart nginx.service
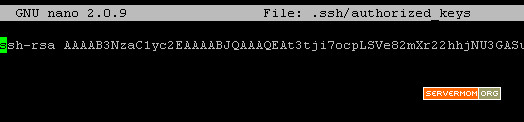
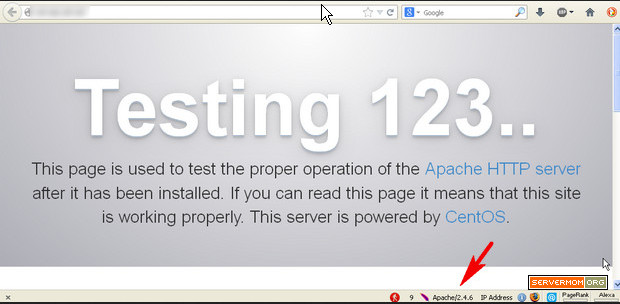
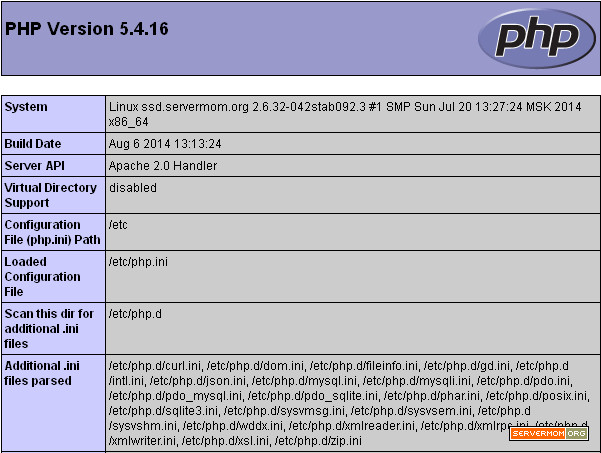
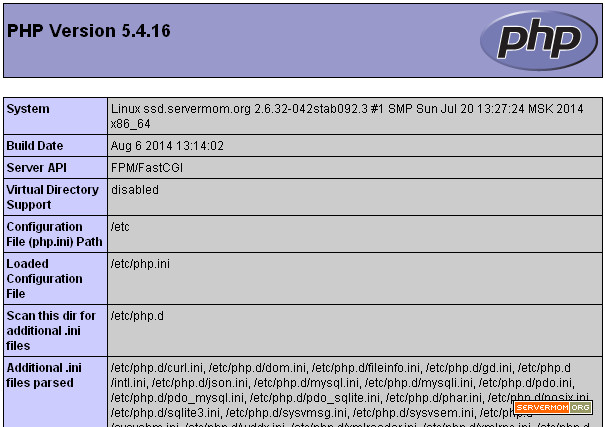
Step 16 – Test that Nginx and PHP-fpm can actually process any php script. For this purpose you can simply create a info.php page:
echo "<?php phpinfo(); ?>" > /usr/share/nginx/html/info.php
Next, open up your browser and try open that newly created info.php file which looks like this:
![install-nginx-centos-7-php-info]()
Install MariaDB
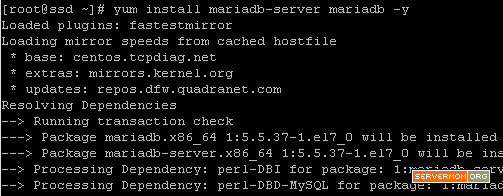
Step 17 – You have Nginx and PHP-fpm up and running so it is time to install MariaDB server. The command is simple and done via yum:
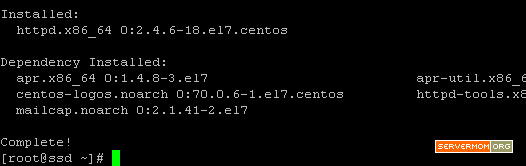
yum install mariadb-server mariadb -y
![install-nginx-centos-7-mariadb]()
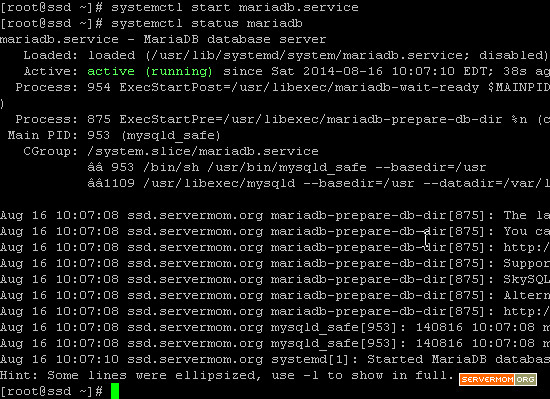
Step 18 -Start MariaDB service using systemctl command (get used to it):
systemctl start mariadb.service
and enable it on boot:
systemctl enable mariadb.service
![install-nginx-centos-7-mariadb-start]()
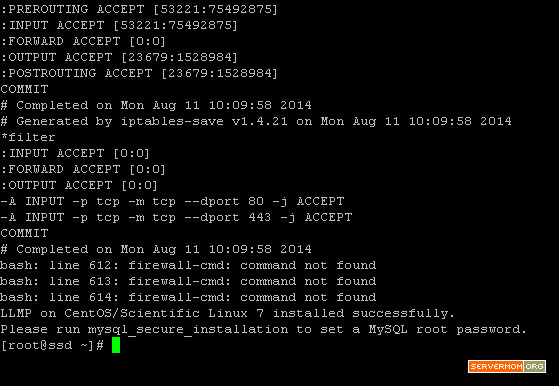
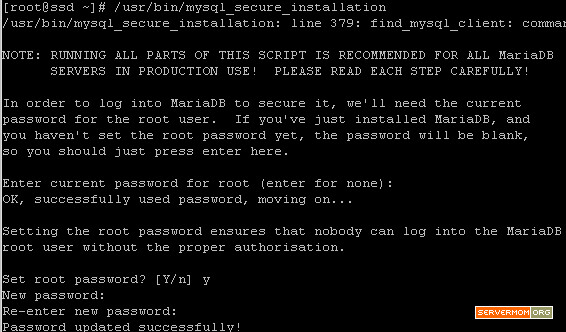
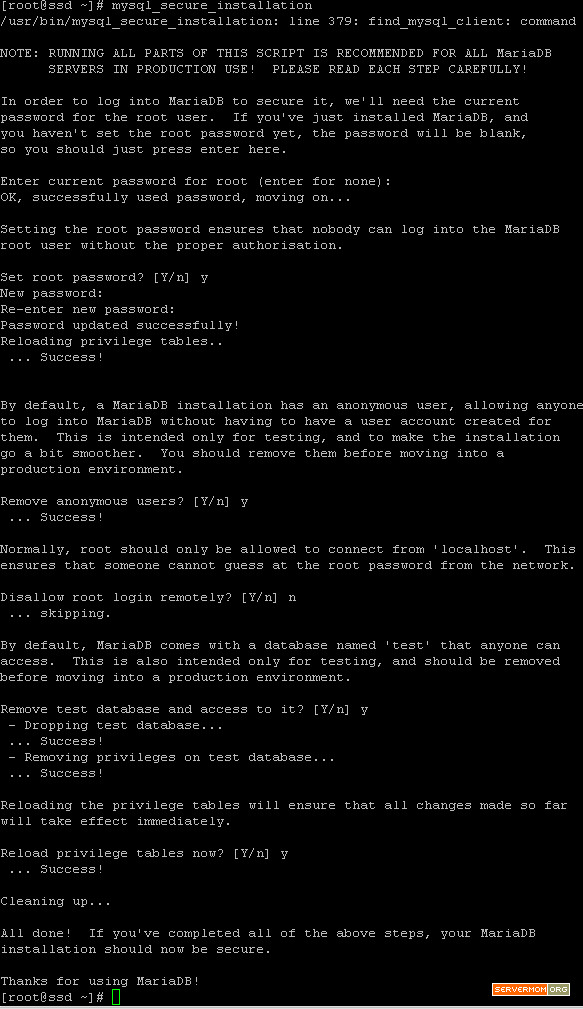
Step 19 – So its service is now running but there is one thing you should do immediately: configuring MariaDB setup for the very first time like setting up your mysql root password. Issue this command:
mysql_secure_installation
Then you’ll see a series of question, just answer it accordingly. The main important part is to define your root password while everything else is just up to you or you can simply hit the “ENTER” key through each prompt to accept the default values.
![]()
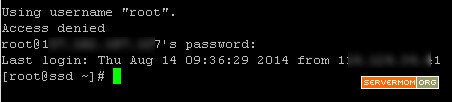
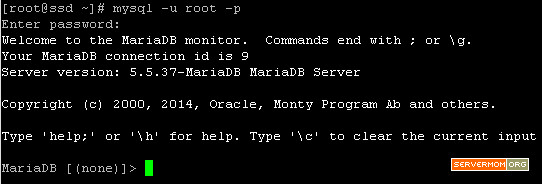
Step 20 – You may also need to test your newly installed MariaDB by logging in as root:
mysql -u root -p
![]()
As you can see from the screenshot above, it is Maria DB v5.5.37.
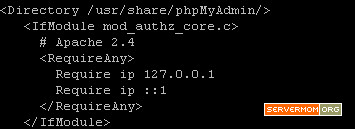
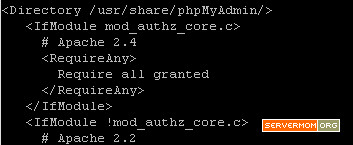
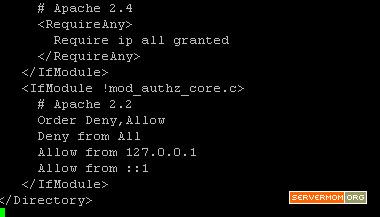
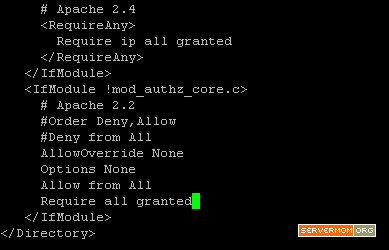
Install PhpMyAdmin
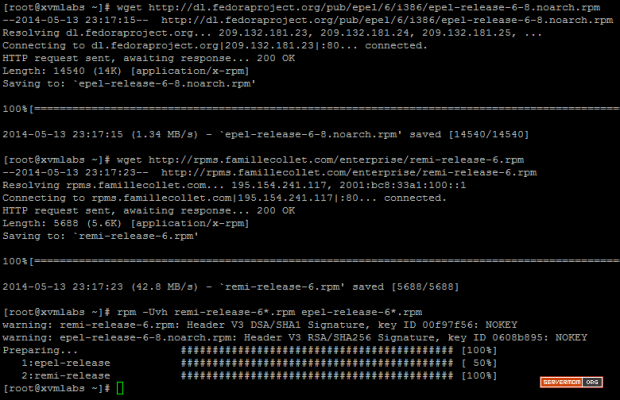
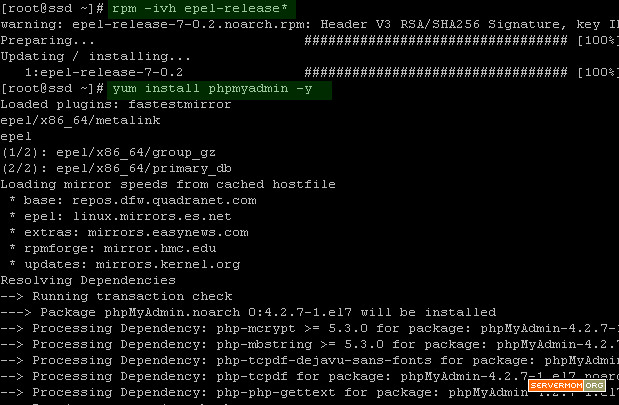
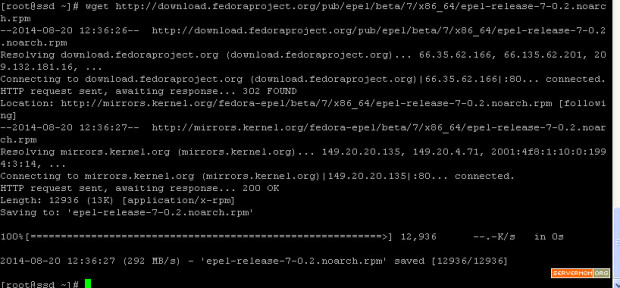
Step 21 – Unluckily, this PhpMyadmin package is not available in CentOS 7.0 default repositories. In this case you have to add / enable third-party repo like EPEL. Simply issue this command to do that:
wget http://download.fedoraproject.org/pub/epel/beta/7/x86_64/epel-release-7-0.2.noarch.rpm
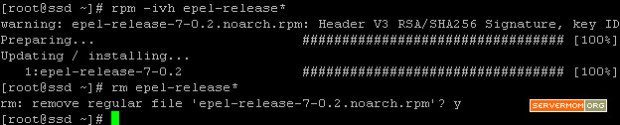
rpm -ivh epel-release*
rm epel-release*
![install-nginx-centos-7-wget-phpmyadmin]()
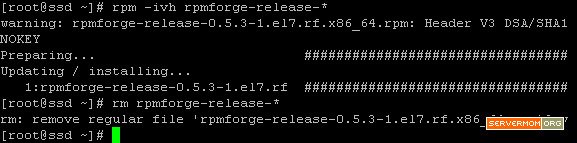
The url above is still its beta version. However if the repository is out of beta status, the link most likely will be different. In case that happens, you can find out its latest download url at Fedora Project website.
![install-nginx-centos-7-pma-install]()
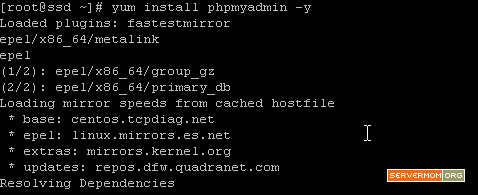
Step 22 – Now use yum to install phpmyadmin:
yum install phpmyadmin -y
![install-nginx-centos-7-pma-install-yum]()
Step 23 – In order to make PhpMyAdmin accessible to the web, you have to create a symbolic link from the PMA installation files to your Nginx document root directory using this command:
ln -s /usr/share/phpMyAdmin /usr/share/nginx/html
now restart php-fpm:
systemctl restart php-fpm.service
![install-nginx-centos-7-pma-symlink]()
Step 24 – That’s it. Now you can test it on your browser:
http://ip-or-domain/phpMyAdmin
and default login page of phpMyAdmin should be displayed:
![]()
Done. Do not forget to follow me on twitter to get faster update or download my official Android app. Enjoy..!
This post How to Install LEMP on CentOS 7 is part of ServerMom.